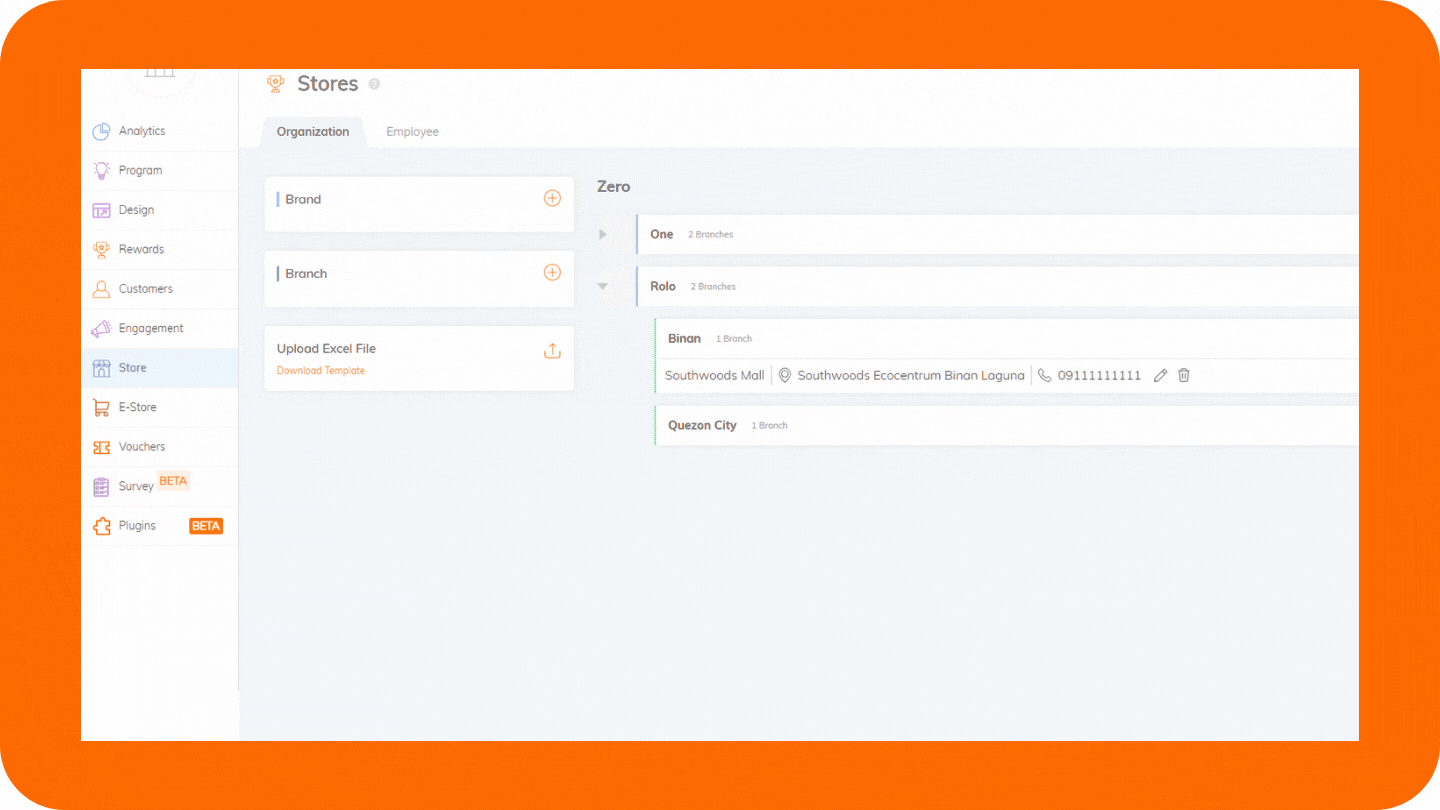
To do a multi-branch upload from the Organization tab of your Store module:
- Download the multi-branch Excel template.
- Accomplish the file by providing the brand name, branch name, address (street name, city, province, and zip code), branch contact number (mobile and landline), store hours, longitude, and latitude of the location of your store.
- Once complete, save the file as .csv (comma, delimited file;
- On the same Organization tab of your Store module, click the
 button. Upload the .csv file.
 - Once uploaded, your branches will now appear under the Organization tab. Likewise, a success prompt will also appear on the bottom left portion of your screen.
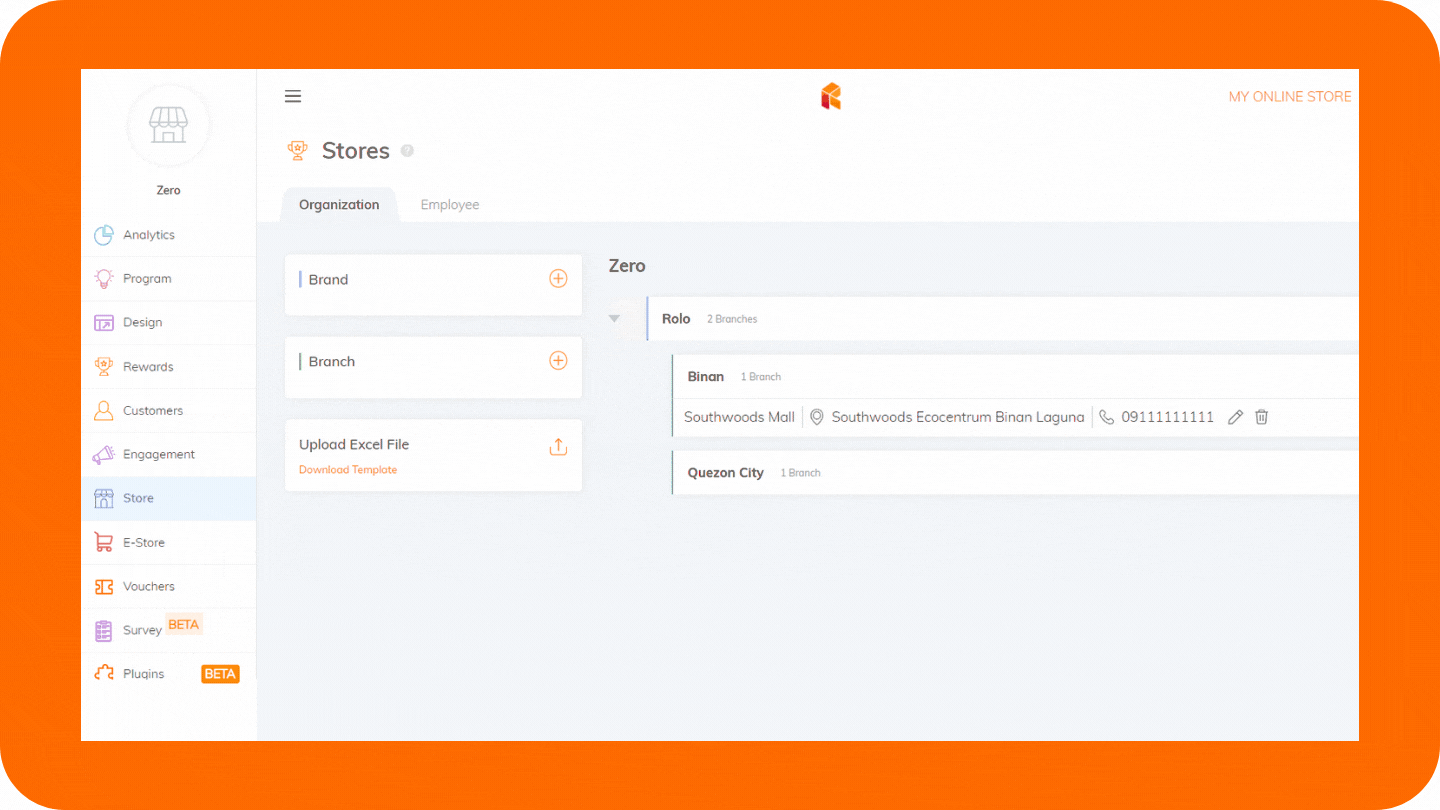
To manually upload your branches from the Organization tab of your Store module:
- On the Branch option, click + button.
- On the pop-up window, provide the branch information:
- Branch Name
- Brand
- Operating Hours
- Thumbnail
- Upload your branch logo; or
- Toggle Logo same as brand to automatically set the brand logo for the branch
- Address
- Mobile (required) and landline (optional) numbers
Note: Make sure that your numbers are active. If your customers can't reach you, you may lose them.
Actual location on map
It’s important to accurately pin your store location using Google Maps so your customers can see your store when they search for stores nearby. You need to type a location on the query box for easier pinning. This is the pin location which Grab captures so the riders will know where they will pick up the order.
- Toggle your store’s visibility
- Click Submit.
- Toggle the storefront visibility.
- Click Save.
- Your branches will now appear under your selected brand.