
Scan to Pay is a reliable payment feature that helps your business simplify your customer’s payment experience. By enabling it in your CMS, your frontline staff can effortlessly generate QR codes for customers' payments.
Step 1: Accessing CMS Settings
- Log in to your CMS dashboard with your assigned credentials.
- Navigate to the 'Settings' module, located on your left screen.
Step 2: Enabling Scan to Pay
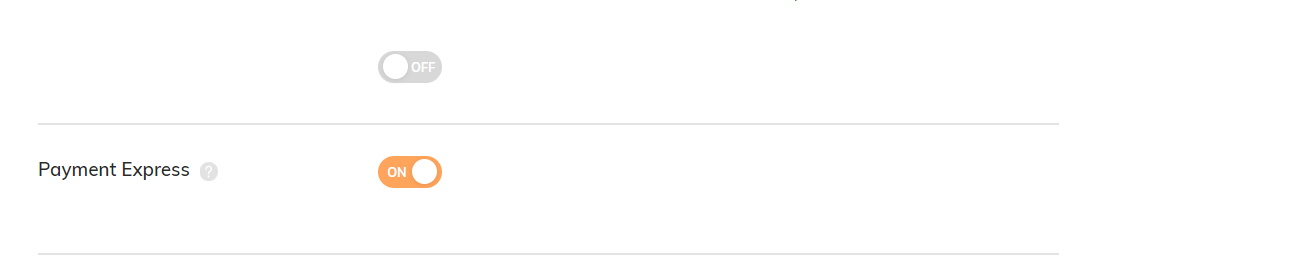
- Within the 'Settings' module, look for the 'Payment Express' option and toggle the switch to enable it.
Step 3: Scan to Pay via RUSH Merchant Mobile App
- Once Payment Express is enabled, log in your frontliner account on Merchant App
Step 4: Go to Payment Express
- In the merchant app, go to the ‘payment express’ section at the top of your screen
- Select channel, and then click next
Step 5: Generate QR Code
- Enter amount of purchase
- O.R number (optional)
- Generate QR Code
Step 5: Dine-in Transactions
- When completing a dine-in transaction, your front-liners can present the generated QR code to the customer.
- Customers can use their mobile devices camera to scan the QR code and make the payment seamlessly.
Note that the QR has expiration time, please inform your customer accordingly.
Step 6: Cancel or Generate a new QR
- After you have generated a QR, you can either cancel it or generate a new one for your next customers.
Merchant Mobile App View