
How to access Advanced Settings?
- Log in to your CMS.
- Go to the Design module.
- Click the Advanced Settings tab.
From here, you can update the design of your front-end channels to better match your branding.
Icons & Logos
![]()
-
Web Favicon
-
Displayed on your browser at the top of your eStore link.
-
Required: the file type should be .ico, and size should be 32 x 32px (square)
-

-
Upload App Icon
-
Upload Web Logo
-
This can be updated either on Web Design or on this tab
-
Please note that you must upload all of these 3 icons and logos to save the changes.
-
Snippet Details
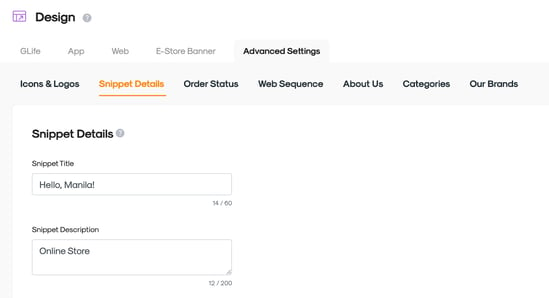
Enhance the visibility of your RUSH-powered eStore on search engines here.
A search result is typically composed of a title, a URL, and a description, or snippet. Snippets act as a preview for your website from a search results page. From here, you can create or update your Snippet Title and Description.
Note: It might take search engines such as Google a few days to index any change you make on your website, including your title and description.
Order Status
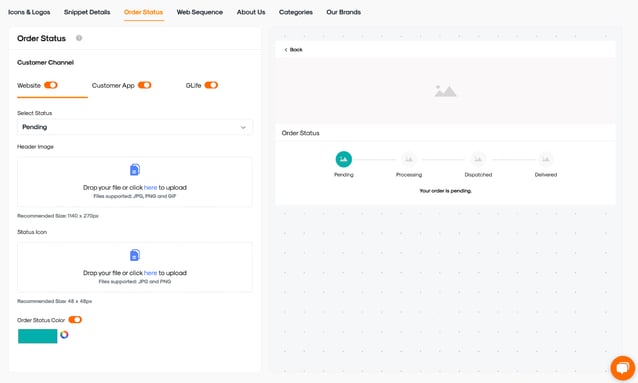
You can upload your own images and icons to customize your online store’s order status page.
- Start by selecting the customer channel where you want your changes to apply. If you only have a GLife store, make sure that both the Website and Customer App channels are turned off.
- To edit, select the Order Status you want to change from the dropdown menu: Pending, Processing, Dispatched/Pickup, Delivered/Claimed
- Upload a Header Image and Status Icon for that Order Status
- Required: Header Image size should be 1140px x 270px (horizontal); Status Icon 48px x 48px (square)
- You can turn on the Order Status Color if you wish to
- A mockup generator will then show a sample of how each order status will look like using the header image and icon you uploaded. Default header images and icons will be set for statuses and channels you did not customize.
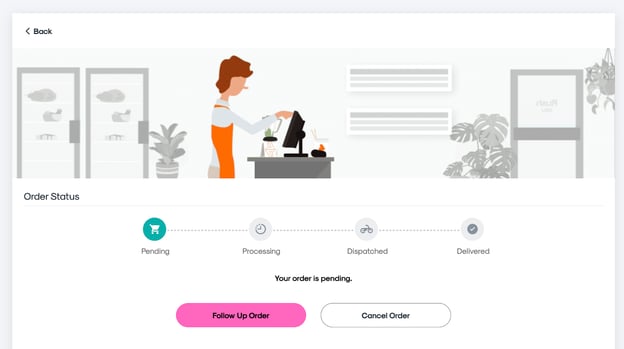
Sample eStore Preview:
Web Sequence
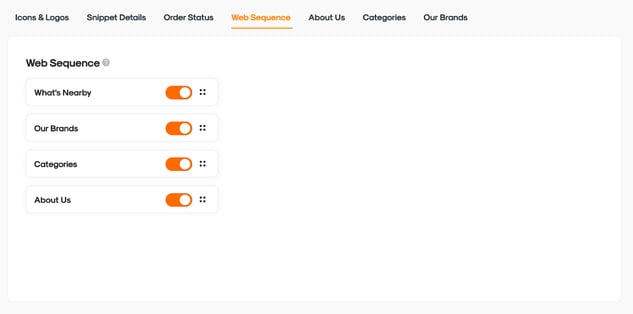
This is where you can customize how your sections will show on your customer channels.
To show/hide the sections, simply click the dial buttons to change the section’s visibility. You can also rearrange these by dragging each section to the order of your choice.
About Us
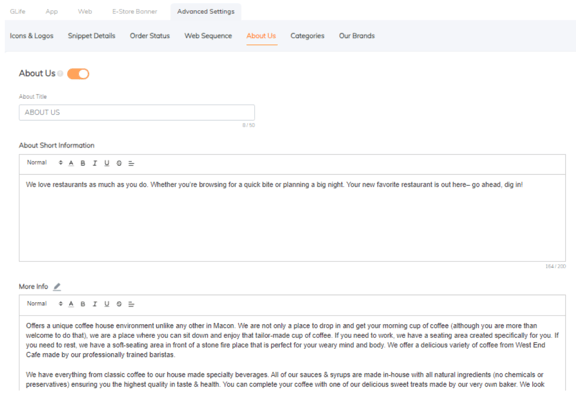
Show your Customers who you are as a company or brand.
- Add a title for the section
- Example: “About Us”, “Who We Are”, etc.
- About Short Information
- This is where you put an introductory or welcoming message.
- Required: should have max 200 characters
- More Info
- Customers will be able to see this additional information or description once they click the ‘More Info’ button on your About Us section.
- You may add an image to go with your company description or welcome message. You may also toggle off this option.
- Required: size should be 304 x 127 px (horizontal).
Categories
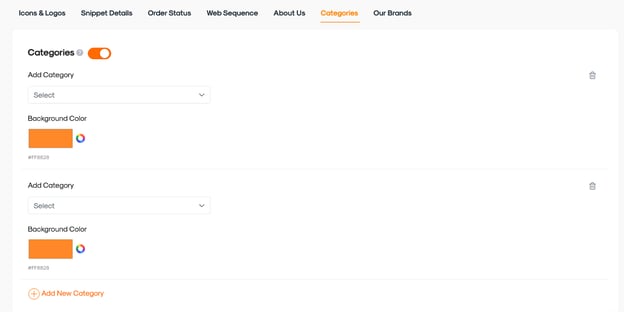
Make it easy for your customers to browse through your products. Showing this section on your Web Store or Customer App’s home page allows you to highlight a maximum of five product categories. Once a category is selected, customers will be shown the brands and branches with available products under the chosen category.
- Go to Advanced Settings > Categories
- From the dropdown list, choose the category you want to edit
- Click the color wheel to choose the background color you want to use for the category.
- Click Add New Category and add another featured category.
- Repeat steps 2 and 3 for other Categories.
Our Brands
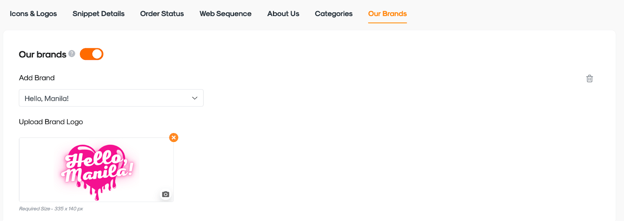
This section helps you manage the multiple brands associated with your business.
- From the dropdown list, choose the brand you want to edit from your onboarded brands.
- Upload the logo or a preferred image for your selected Brand. To differentiate your featured brands from one another, it is best to use the logo of each brand.
- Click Add New Brand to add another featured brand. You can feature up to 7 of your onboarded brands on your home page.
Only onboarded brands will be included in the dropdown list. You can enroll additional brands from the Store module.