
Customize your storefront for web, customer app and GLife design.
Access the Advanced Features for Web branding and personalized the design of your channel/s. You can change the look and feel of your front-end channels by updating the design on this function. You can update this via CMS on Web Design>advanced settings.
Web Design Advanced Settings Features:
- Icons and Logos
- Snippet Details
- Order Status
- Web Sequence
- About Us
- Categories
- Our Brands
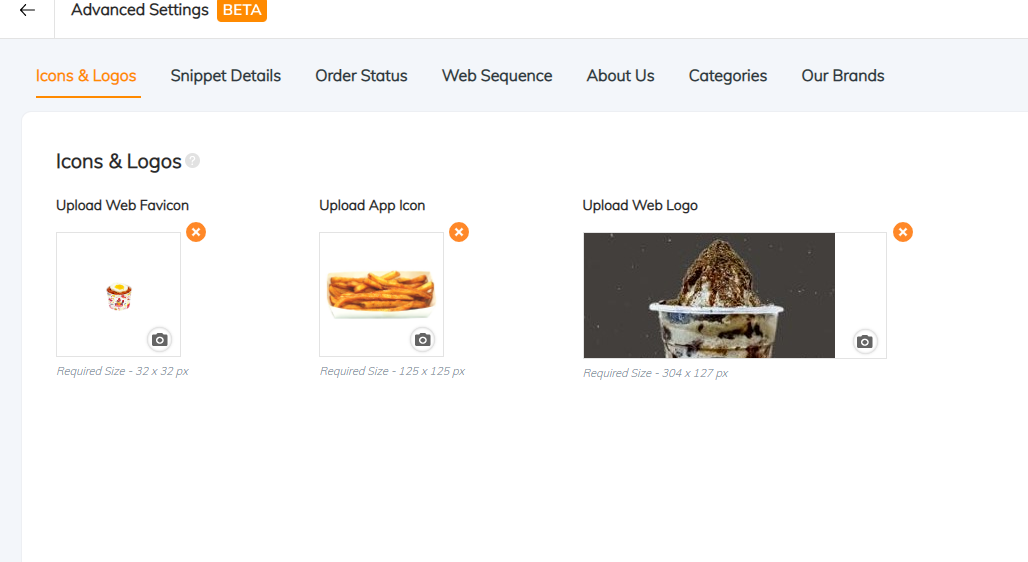
Icons and Logos
Upload the right image assets to make your brand more recognizable.Kindly note that before uploading logos and icons on advanced settings. You must create a design for web first to publish this design.
- Web Favicon
- This will be displayed on your browser at the top of your web loyalty link. Required format of image is .ico and required size is 32x32 px.
- App Icon
- This is for App Icon
- Web Logo
- This is the reason why you must create a web design first. This can be both updated on web design or on this tab, icons and logos advanced settings.
Please note that you must upload all of these 3 icons and logos to save the changes.
Branded Snippet
Enhance the visibility of your RUSH-powered Loyalty website on search engines using the Snippet feature. A search result is typically composed of a title, a URL, and a description, or snippet. Snippets act as a preview for your website from a search results page.From here, you can create or update your snippet title and description.
It might take search engines such as Google a few days to index any change you make on your website, including your title and description.
About Us
Show your Customers who you are as a company or brand. Give them a preview of your specialties, tell them the important things they should know about you, welcome them to your online store with a short message, or get them curious about the unique selections you offer. Whichever you decide on, this section is extremely helpful in capturing the attention of your existing and potential customers.

To edit your About Us section:
- Go to Advanced Settings > About Us
- Add a title for the section (example: About Us, Who We Are, etc.)
- Add a brief brand description, an introductory message, or a welcome message in the ‘About Short Description’ text box. The short description should have a maximum of 200 characters.
- Add more information about your brand using the ‘More Info’ section. Customers will be able to see this additional information or description once they click the ‘More Info’ button on your About Us section.
- You may add an image to go with your company description or welcome message by uploading the image you want to use for the About Us section. For optimal image display on your channels, the selected image should be 304 x 127 px. If you do not want to include an image for this section, simply toggle off this option.
Web Sequence
This is where you can customize how your sections will show on your customer channels. To show/ hide the sections, click the dial buttons to change the section’s visibility. You can also sort the sections however you want by dragging each section in the order of your choice.
While the following tabs below are only applicable to eS\tore channels.
- Order Status
- Categories
- Our Brands